
- Chengxin Valve Co., Ltd.
-
 1YrXingtai, Hebei, China
 - Main Products: Gate valve, Butterfly valve, Globe valve, Check valve
-
 LI
Hi there! Welcome to my shop. Let me know if you have any questions.
LI
Hi there! Welcome to my shop. Let me know if you have any questions.
Your message has exceeded the limit.
The correct method for installing a check valve in a bathroom
2025-12-01 10:16:23
The correct installation method for a bathroom check valve includes several key steps: preparation, positioning and installation, securing and sealing, and testing. The essence of these steps is to ensure a tight connection between the valve body and the pipe, as well as to ensure that the valve blades are oriented correctly, thereby effectively preventing the backflow of unpleasant odors. Here is a detailed guide to the installation process:
**Preparation of Tools and Materials Before Installation:**
Prepare the check valve itself, sealant (or aluminum foil tape), a screwdriver, a drill, gloves, and a dust mask.
**Safety Measures:**
Turn off the power to the bathroom exhaust fan or bathroom heater to ensure safe operation.
**Clean the Pipe:**
Remove any debris from the chimney opening or exhaust duct to avoid affecting the sealing quality.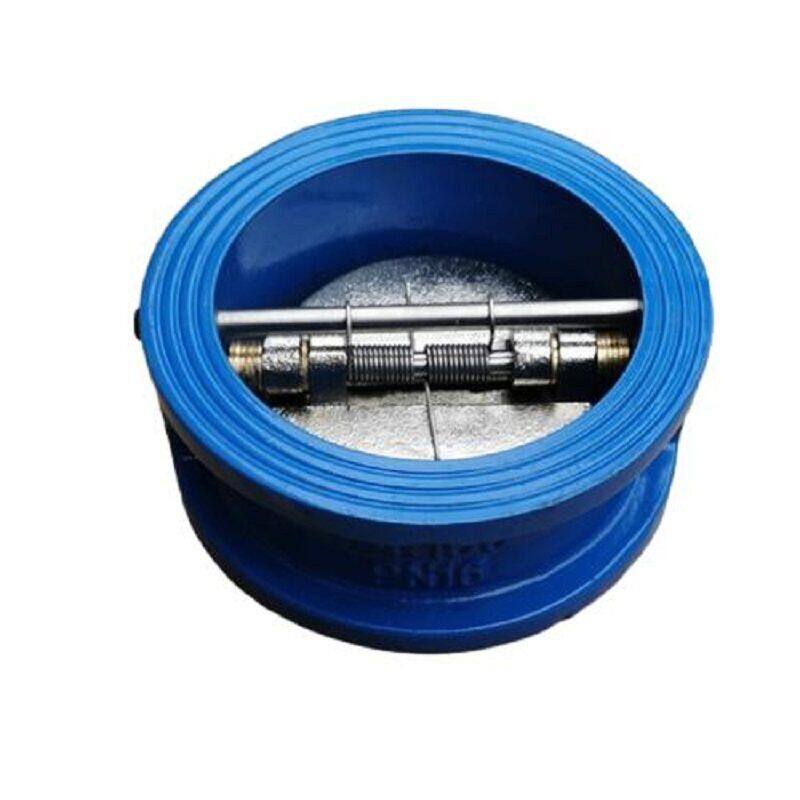
**Detailed Steps for Installing the Bathroom Check Valve:**
1. **Positioning and Alignment:**
Align the base of the check valve with the chimney opening, ensuring that the valve blades face outward (in the direction of exhaust) to prevent incorrect installation.
2. **Drilling Holes in the Tile (if Necessary):**
If it is necessary to drill holes in the tile, it is recommended to do so during the tiling phase to ensure that the hole edges are smooth.
3. **Securing the Valve Body:**
Use glue-free adhesive or expansion screws to fix the valve base in place. After applying the adhesive, press it firmly against the tile surface, or use a steel bar and cable ties to reinforce the connection.
4. **Adjust the Tightening Force of the Screws:**
Be careful not to over-tighten the screws, as this could damage the valve body.
5. **Sealing:**
Apply silicone sealant or other suitable sealant to the joints between the valve body, the pipe, and the tile to ensure a seamless seal.
6. **Enhancing Airtightness:**
When connecting the exhaust pipe, wrap the joint with aluminum foil tape to improve airtightness.
Tags: check valve
