
- Chengxin Valve Co., Ltd.
-
 1YrXingtai, Hebei, China
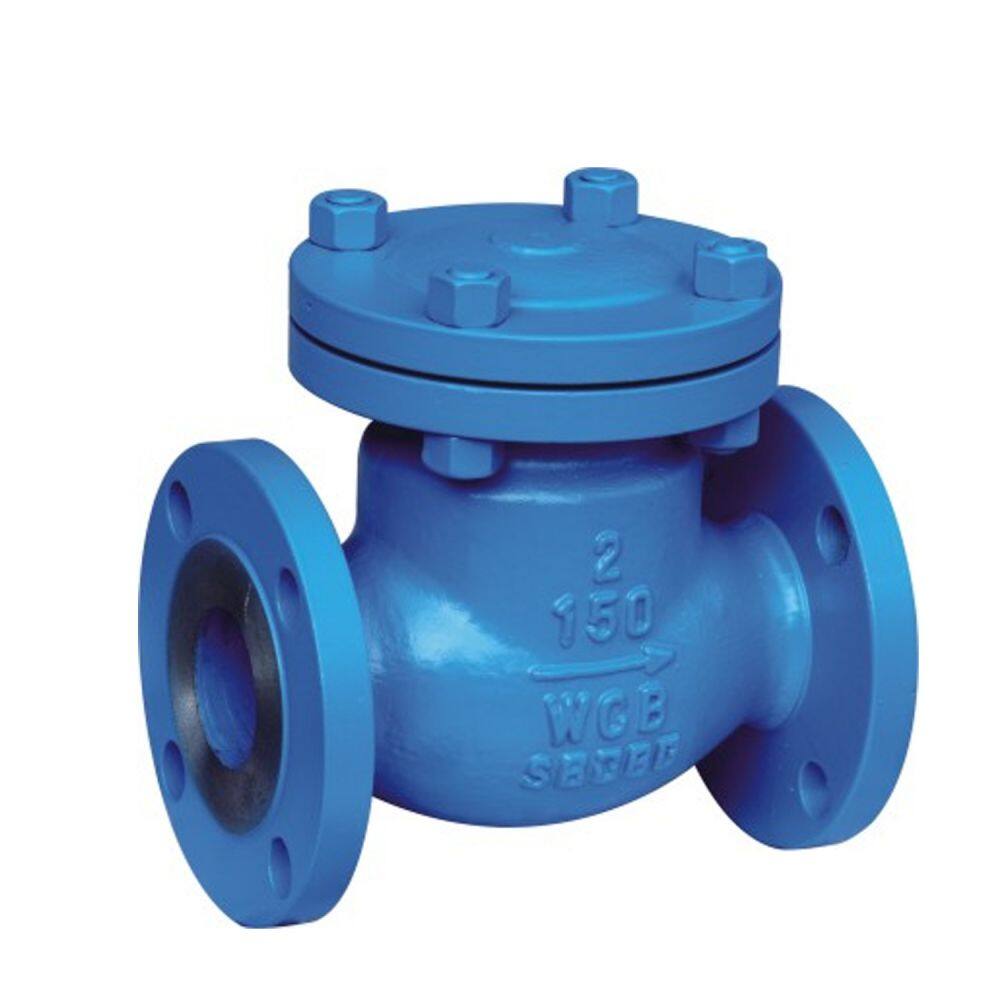
 - Main Products: Gate valve, Butterfly valve, Globe valve, Check valve
-
 LI
Hi there! Welcome to my shop. Let me know if you have any questions.
LI
Hi there! Welcome to my shop. Let me know if you have any questions.
Your message has exceeded the limit.
Installation method of the check valve in the bathroom
2025-12-05 15:44:04
The correct installation method of a check valve in a bathroom mainly includes key steps such as completing the installation before the ceiling construction, ensuring the correct orientation of the valve body, and ensuring proper sealing to effectively prevent the backflow of unpleasant odors. Before installation, prepare the necessary tools and materials: a check valve, sealant, screwdriver, electric drill, gloves, etc. Choose a check valve made of ABS material, which is resistant to high temperatures and has good sealing properties, and ensure that its dimensions match those of the exhaust duct. It is essential to install the check valve before the bathroom ceiling is constructed. If the tiles have already been laid, make sure that the base of the check valve fits tightly against the tiles; if necessary, use non-nail adhesive to secure it. The check valve should be installed at the connection between the exhaust outlet of the exhaust fan or bathroom heater and the common chimney, close to the ground for easy maintenance, and ensure that the water inlet of the valve body is higher than the water outlet.
Steps for installing a check valve in a bathroom:
1. **Turn off the power and clean the area**: Turn off the power to the exhaust fan, remove the surrounding ceiling panels, and clean the dust accumulated at the chimney opening.
2. **Align and secure the check valve**: Place the base of the check valve against the chimney opening and secure it using expansion screws or non-nail adhesive. If the tiles are already in place, apply sealant first and then use straps to reinforce the connection.
3. **Ensure the correct orientation**: During installation, make sure that the blades of the check valve face outward (in the direction of exhaust) to ensure that air can only flow in one direction.
4. **Connect the pipes**: Connect the exhaust duct (such as an aluminum foil duct) to the outlet of the check valve, and wrap the joint with sealant or tape to prevent air leaks.
5. **Check for proper installation**: After installation, check all connections to ensure they are tight. Turn on the exhaust fan and test whether the air flows smoothly without any backflow.
Tags: check valve
