
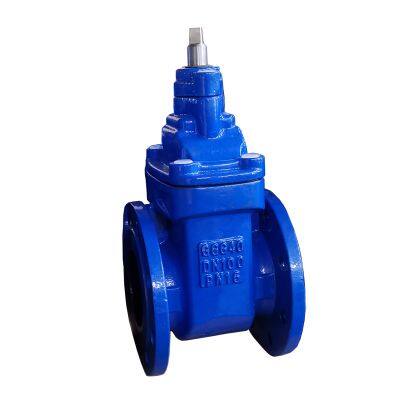
The correct method for installing a gate valve
The correct installation of a gate valve requires following a series of steps and precautions to ensure good sealing performance, flexible operation, and long-term stability. The key points include pre-installation checks, confirmation of the correct orientation, provision of sufficient operating space, uniform tightening of bolts, and post-installation testing.
**Pre-installation Preparation:**
- Check the condition of the valve to ensure that its model and specifications match the application requirements.
- Inspect whether the inside of the valve body and the sealing surfaces are clean, free from dirt, sand, or rust.
- Verify the direction of fluid flow. Since a gate valve is a one-way valve, the arrow on the valve body must align with the flow direction; otherwise, the valve will not operate properly.
**Provision of Operating Space:**
- Ensure that the installation location is convenient for operation and maintenance. For manual valves, the handwheel should be easily accessible; for electric/pneumatic valves, sufficient space must be reserved for the drive mechanism.
**Gate Valve Installation Steps:**
1. **Position and Secure the Valve:** Align the valve with the pipe flanges and ensure that the connection surfaces are parallel to avoid deformation of the valve body during installation.
2. **Tighten the Bolts Symmetrically:** Tighten the bolts in stages to prevent uneven distribution of forces.
3. **Sealing and Gasket Handling:**
- Check the tightness of the gasket to ensure good sealing while maintaining the flexibility of the gate.
- If a soft seal (such as rubber or Teflon) is used, remove any debris from the inner cavity before installation.
4. **Connect the Drive Mechanism:** For pneumatic/electric valves, connect the wires according to the wiring diagram to ensure a stable supply of air or power.
5. **Initial Test Run:** Before powering on for the first time, manually open the valve to half-open position and perform an empty-load test run.
**Post-installation Testing and Maintenance:**
- Conduct a test run to check whether the valve operates smoothly, whether there are any leaks, and to test its sealing performance.
- Perform regular maintenance: Check the tightness of the gasket periodically and replenish the sealing grease as needed. Also, avoid impacts or compressions on the valve.
- **Environmental Requirements:** The valve should be installed in a dry and well-ventilated area, away from humid or corrosive environments. If it will be used in high-temperature conditions, it may require “thermal expansion” treatment.
Recently Posted
-
Installation of the range hood check valve
December 17, 2025Preparations before installing the range hood check valve: Tools and materials are essential for a successful installation and sho Read More
 -
Working principle of the knife gate valve
December 16, 2025The gate valve is a type of valve that controls the flow of fluids by moving a gate up and down. Its working principle involves us Read More
 -
Differences between knife gate valves and gate valves
December 16, 2025Gate valves and knife gate valves differ significantly in structure, function, and application scenarios. Knife gate valves are sp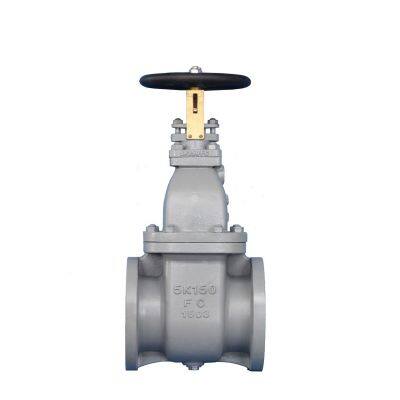 Read More
 -
The difference between a foot valve and a check valve
December 15, 2025Both foot valves and check valves are designed to prevent the backflow of fluids, but they differ significantly in terms of design Read More

Contact Us
Recommended Products
-
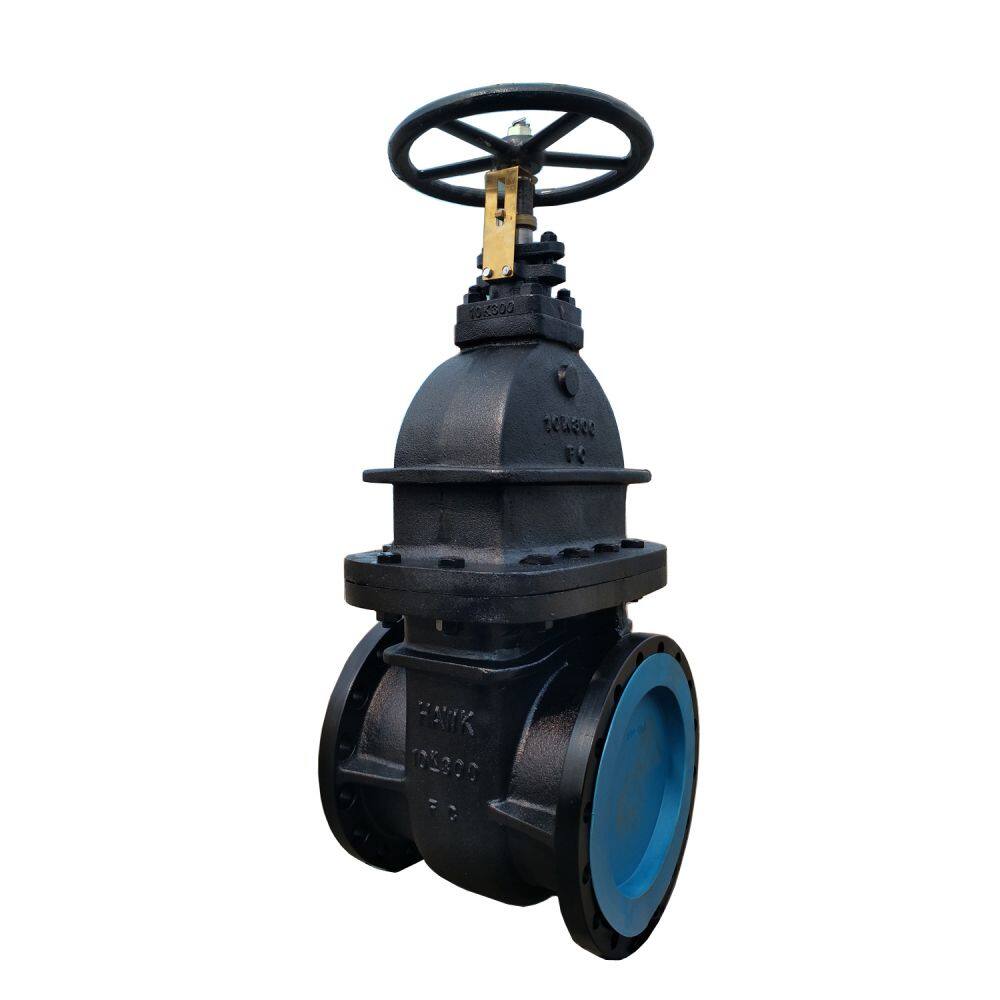
 DIN F4 Flange Gate Valve Cast Iron Body DN50-600 Material GGG40 GG25 GGG50 Resilient Seat for Water Control ApplicationsNegotiableMOQ: 100 Pieces
 -
ANSI Rising Cast Steel WCB Flange High Pressure Gate ValveNegotiableMOQ: 100 Pieces
-
GOST Hard Seat Cast Iron Gate Valve, DN50-400 Size, PN10/PN16 Pressure, for Water Control ApplicationsNegotiableMOQ: 100 Pieces
-
DIN3352 Compliant F4 Flange Pump Gate Valve PN10/PN16 Cast Iron Body for High Sealing PerformanceNegotiableMOQ: 100 Pieces
-
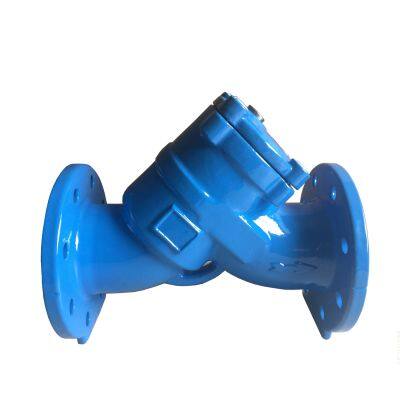
ANSI DN150 150LB Cast Iron Cast Steel WCB Strainer Flange Y-Type Strainer Stainless Steel Central Heating FilterNegotiableMOQ: 100 Pieces
-
Wide Size Range ANSI Flanged Foot Valve, Ductile Iron, API 598 Tested, for High Sealing PerformanceNegotiableMOQ: 1 Piece
-
Float Valve DN100 PN25 High-Pressure Ball Type Non Return Valve Valvula Check Tipo WaferNegotiableMOQ: 100 Pieces
-
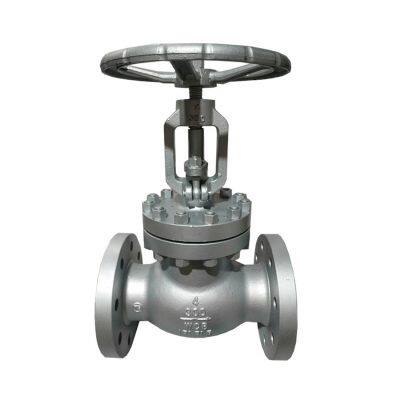
API 598 Certified Cast Steel Globe Valve for Oil/Gas Pipelines, Size 1/2" to 12" 300LB RatingNegotiableMOQ: 1 Piece
-
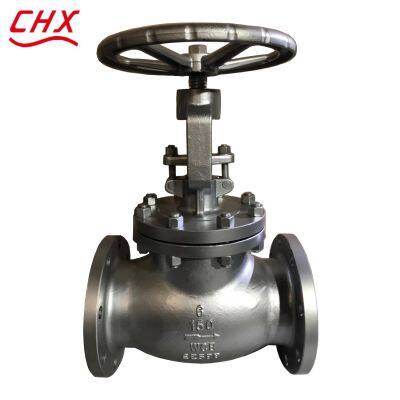
Industrial Globe Valve Shutoff Valves for ASME B16.5 Flanges Pressure Rated 150LB-300LBNegotiableMOQ: 1 Piece
-
API 6D Certified Globe Valve With ASTM A216 WCB Body and Corrosion-Resistant Stem OptionsNegotiableMOQ: 1 Piece

-
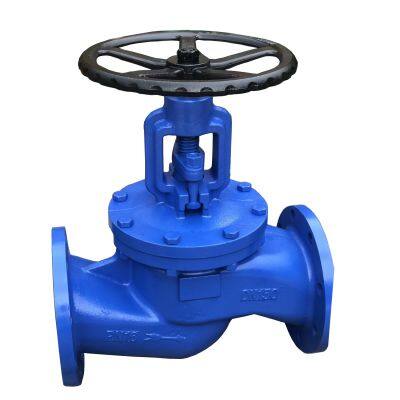
Reliable DIN Cast Iron Globe Valve With Brass Seat, PN16 Pressure Rating, DN50-250NegotiableMOQ: 1 Piece
-
DIN Standard Compliant Globe Valve for Flange Systems, Size Range DN50 to DN250NegotiableMOQ: 1 Piece
-
Durable Cast Iron ANSI Grooved Butterfly Valve, Manual/Worm/Electric Operation, NBR/EPDM Seat OptionsNegotiableMOQ: 1 Piece
-
ANSI Grooved End Butterfly Valve, AWWA C606 Flange Standard, Ideal for Water Treatment ApplicationsNegotiableMOQ: 1 Piece
-
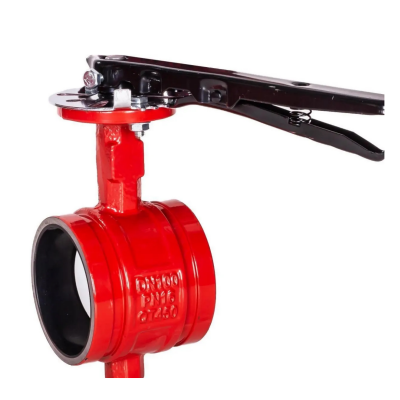
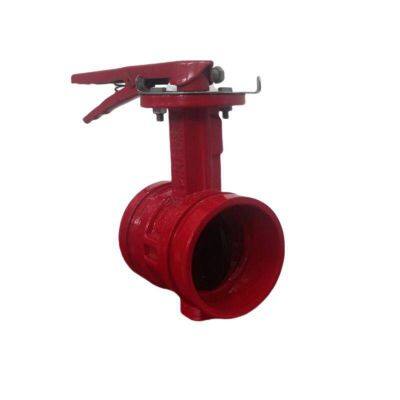
Manual Grooved End Cast Iron Butterfly Valve for Water Fire FightingNegotiableMOQ: 1 Piece

-
AWWA Butterfly Valve Grooved End Butterfly Valve for Industrial Use ANSI Full Lift Safety FlangNegotiableMOQ: 1 Piece
-
Multi-Drive BS 5155 Flange Butterfly Valve for General Industry Applications, DN50 to DN800 RangeNegotiableMOQ: 1 Piece
-
BS 5155 Butterfly Valve Meeting BS4504/EN1092-2 and API 598 StandardsNegotiableMOQ: 1 Piece
-
ANSI B16.1 Compatible Strainer Featuring Ductile Iron Body and Cast Iron Bonnet, Size 1/2"-24"NegotiableMOQ: 1 Piece
-
Industrial-Grade Cast Iron Strainer With SS304 Screen for Pipeline Filtration SystemsNegotiableMOQ: 1 Piece