
Installation of the range hood check valve
Preparations before installing the range hood check valve: Tools and materials are essential for a successful installation and should be prepared in advance:
- **Check valve body**: It is recommended to choose stainless steel or aluminum alloy materials, as they are heat-resistant and have a long lifespan.
- **Sealing materials**: High-temperature resistant aluminum foil tape (avoid regular tape) and neutral silicone sealant or glass glue.
- **Fixing tools**: Clips or expansion screws (clips are preferred to avoid gaps in the wall), screwdrivers, and tape measures.
- **Cleaning supplies**: Rags and dishwashing liquid for cleaning oil stains from the duct.
Detailed steps for installing the range hood check valve:
1. **Positioning and fixing**:
- Measure the diameter of the duct and select a check valve that matches it.
- Place the valve frame over the duct opening and mark the drilling points with a pencil (4–6 holes). After drilling, fix the expansion screws or clips in place.
- Ensure that there are no gaps between the frame and the wall, and that the arrow on the valve body points towards the inside of the duct. Installing it in the wrong direction will render it ineffective.
2. **Connecting and sealing**:
- Insert the valve disc assembly into the frame; a “click” sound indicates that it is securely in place.
- Wrap the joint with aluminum foil tape three times, then apply neutral silicone sealant (about 5 mm wide) to prevent the sealant from blocking the air inlet.
- Connect the range hood’s exhaust duct and secure it with a clamp. The duct should not be longer than 2 meters and should have as few bends as possible.
Common mistakes and how to avoid them when installing the range hood check valve:
- **Incorrect direction**: If the arrow does not point towards the inside of the duct, the valve will not open, allowing smoke to flow back.
- **Insufficient sealing**: Using only foam sealant or regular tape can cause it to crack when exposed to oil. Double-layer sealing with aluminum foil tape and silicone is necessary.
- **Improper location**: The check valve should be installed at the entrance of the secondary duct to prevent damage to the valve body caused by the pressure in the main duct.
Recently Posted
-
Working principle of the knife gate valve
December 16, 2025The gate valve is a type of valve that controls the flow of fluids by moving a gate up and down. Its working principle involves us Read More
 -
The correct method for installing a gate valve
December 16, 2025The correct installation of a gate valve requires following a series of steps and precautions to ensure good sealing performance,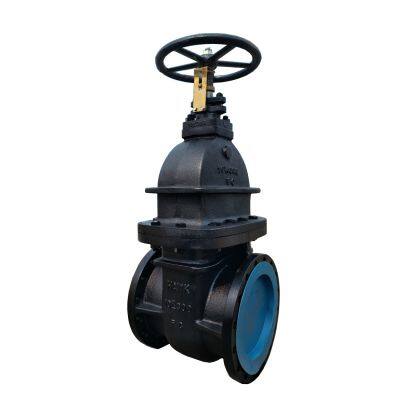 Read More
 -
Differences between knife gate valves and gate valves
December 16, 2025Gate valves and knife gate valves differ significantly in structure, function, and application scenarios. Knife gate valves are sp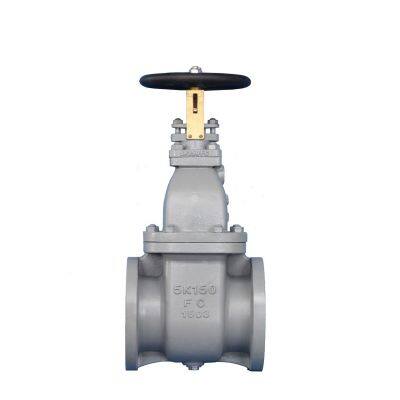 Read More
 -
The difference between a foot valve and a check valve
December 15, 2025Both foot valves and check valves are designed to prevent the backflow of fluids, but they differ significantly in terms of design Read More

Contact Us
Recommended Products
-
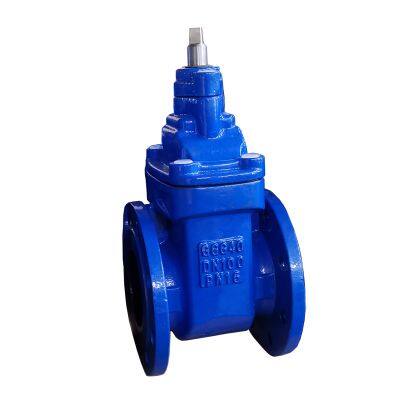
 DIN F4 Flange Gate Valve Cast Iron Body DN50-600 Material GGG40 GG25 GGG50 Resilient Seat for Water Control ApplicationsNegotiableMOQ: 100 Pieces
 -
ANSI Rising Cast Steel WCB Flange High Pressure Gate ValveNegotiableMOQ: 100 Pieces
-
GOST Hard Seat Cast Iron Gate Valve, DN50-400 Size, PN10/PN16 Pressure, for Water Control ApplicationsNegotiableMOQ: 100 Pieces
-
DIN3352 Compliant F4 Flange Pump Gate Valve PN10/PN16 Cast Iron Body for High Sealing PerformanceNegotiableMOQ: 100 Pieces
-
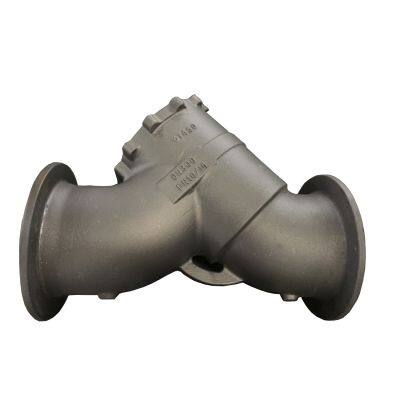
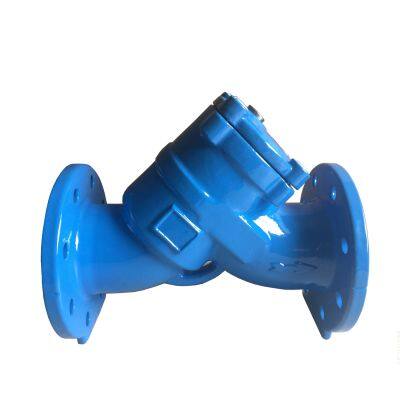
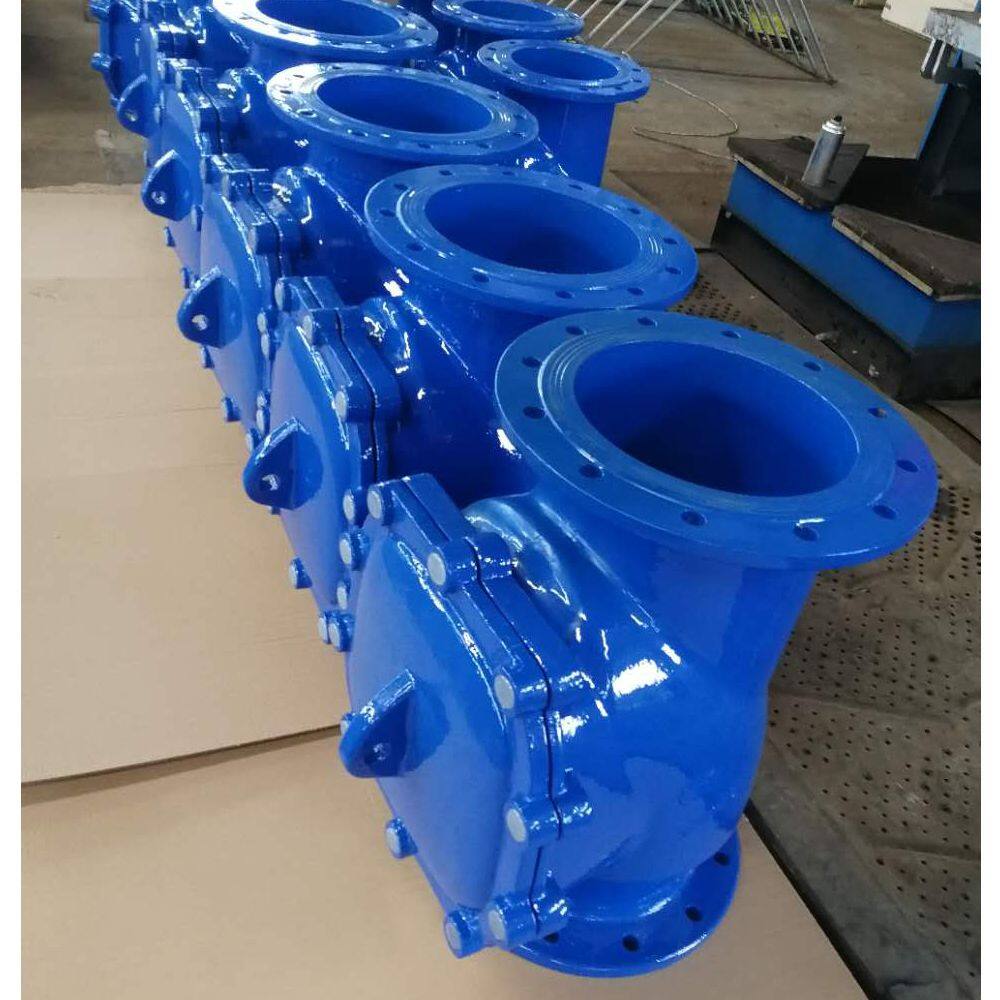
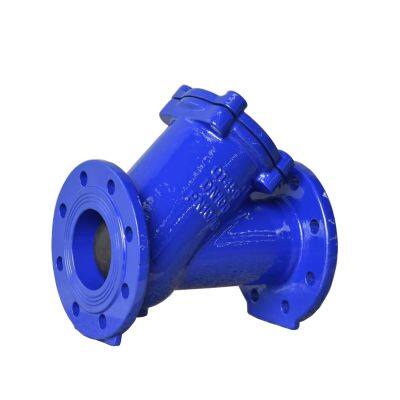
ANSI DN150 150LB Cast Iron Cast Steel WCB Strainer Flange Y-Type Strainer Stainless Steel Central Heating FilterNegotiableMOQ: 100 Pieces
-
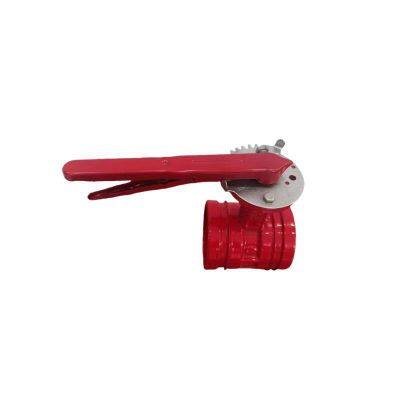
Wide Size Range ANSI Flanged Foot Valve, Ductile Iron, API 598 Tested, for High Sealing PerformanceNegotiableMOQ: 1 Piece
-
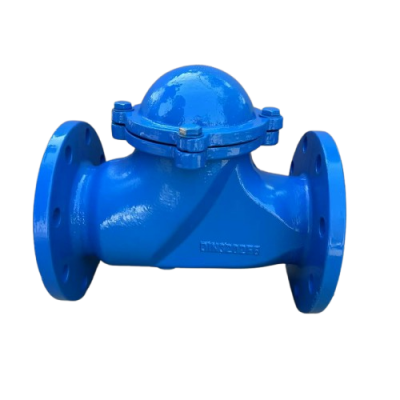
Float Valve DN100 PN25 High-Pressure Ball Type Non Return Valve Valvula Check Tipo WaferNegotiableMOQ: 100 Pieces
-
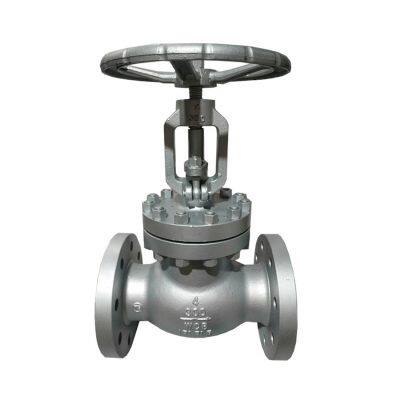
API 598 Certified Cast Steel Globe Valve for Oil/Gas Pipelines, Size 1/2" to 12" 300LB RatingNegotiableMOQ: 1 Piece
-
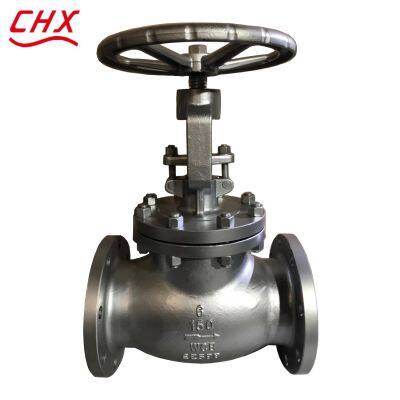
Industrial Globe Valve Shutoff Valves for ASME B16.5 Flanges Pressure Rated 150LB-300LBNegotiableMOQ: 1 Piece
-
API 6D Certified Globe Valve With ASTM A216 WCB Body and Corrosion-Resistant Stem OptionsNegotiableMOQ: 1 Piece

-
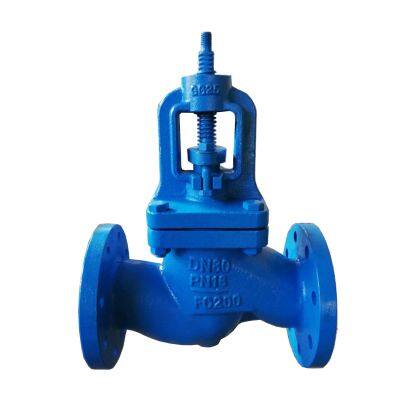
Reliable DIN Cast Iron Globe Valve With Brass Seat, PN16 Pressure Rating, DN50-250NegotiableMOQ: 1 Piece
-
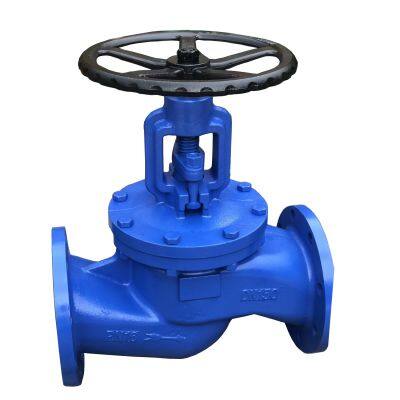
DIN Standard Compliant Globe Valve for Flange Systems, Size Range DN50 to DN250NegotiableMOQ: 1 Piece
-
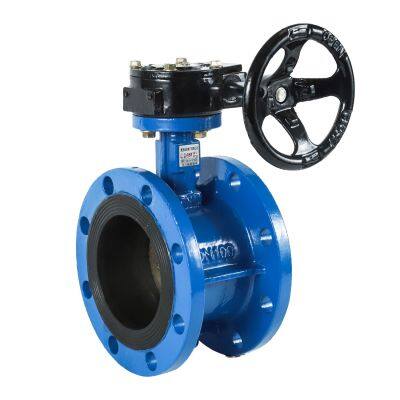
Durable Cast Iron ANSI Grooved Butterfly Valve, Manual/Worm/Electric Operation, NBR/EPDM Seat OptionsNegotiableMOQ: 1 Piece
-
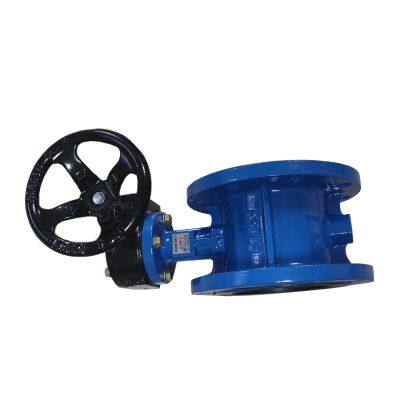
ANSI Grooved End Butterfly Valve, AWWA C606 Flange Standard, Ideal for Water Treatment ApplicationsNegotiableMOQ: 1 Piece
-
Manual Grooved End Cast Iron Butterfly Valve for Water Fire FightingNegotiableMOQ: 1 Piece

-
AWWA Butterfly Valve Grooved End Butterfly Valve for Industrial Use ANSI Full Lift Safety FlangNegotiableMOQ: 1 Piece
-
Multi-Drive BS 5155 Flange Butterfly Valve for General Industry Applications, DN50 to DN800 RangeNegotiableMOQ: 1 Piece
-
BS 5155 Butterfly Valve Meeting BS4504/EN1092-2 and API 598 StandardsNegotiableMOQ: 1 Piece
-
ANSI B16.1 Compatible Strainer Featuring Ductile Iron Body and Cast Iron Bonnet, Size 1/2"-24"NegotiableMOQ: 1 Piece
-
Industrial-Grade Cast Iron Strainer With SS304 Screen for Pipeline Filtration SystemsNegotiableMOQ: 1 Piece