
How to install a sewer valve?
Installing sewer valves requires following specific steps depending on the type of valve (such as check valves, flush valves, etc.). The key is to ensure the correct orientation, proper sealing, and to test for any leaks. The following are general installation guidelines:
**Preparation before Installation:**
- Gather the necessary tools and materials, including PTFE tape, silicone sealant, tape measure, wrenches, etc., and verify that the valve model matches the pipe specifications.
**Inspect the Valve:**
- Ensure the valve is in good condition, the valve stem moves smoothly without any obstruction, and remove any debris inside the valve.
**Determine the Flow Direction:**
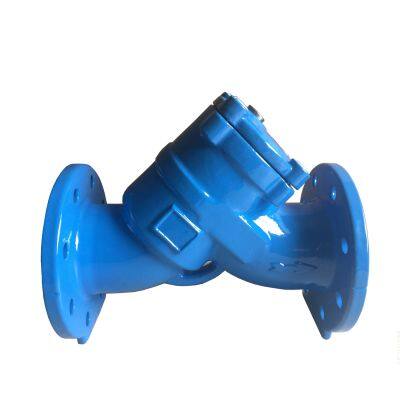
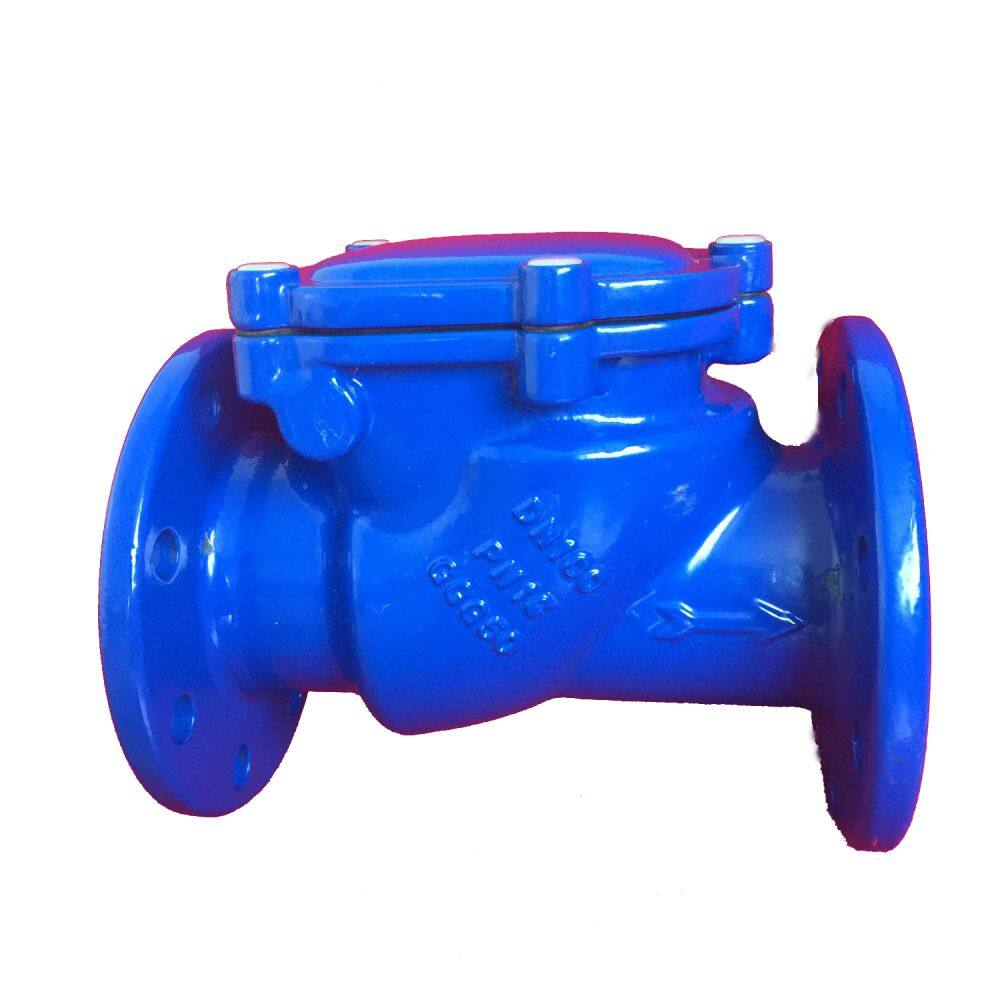
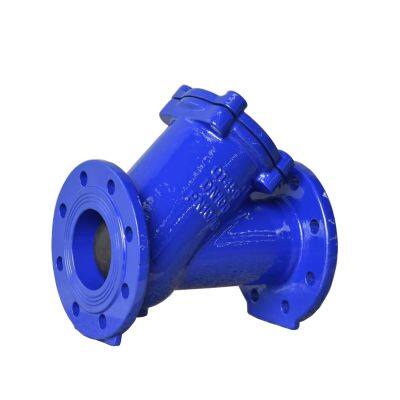
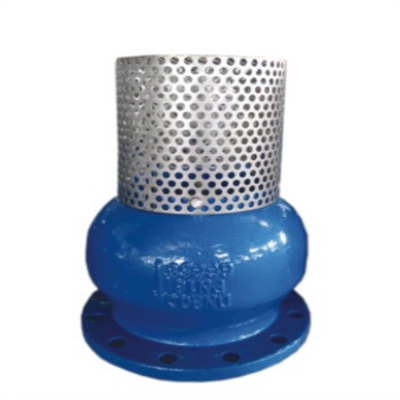
- For valves with a specific orientation (such as check valves or gate valves), install them according to the arrow indication, with the arrow pointing in the direction of water flow. For gate valves, the inlet should be at the lower level and the outlet at the higher level.
**Installation Steps:**
1. **Pipe Preparation:**
Clean the pipe joints to remove any burrs or impurities.
2. **Connect the Valve:**
- **Threaded Connection:** Wrap PTFE tape around the pipe threads to prevent it from entering the valve body. Use a wrench to tighten the valve body’s hexagon nut.
- **Flanged Connection:** Align the flange holes and tighten the bolts symmetrically to avoid uneven stress.
3. **Fixing and Adjustment:**
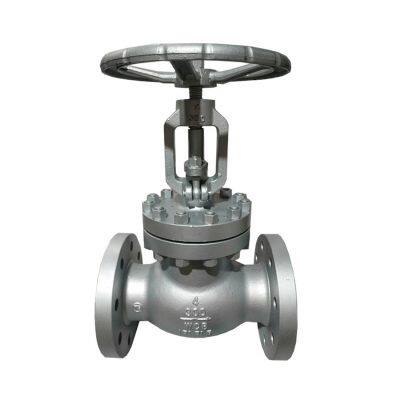
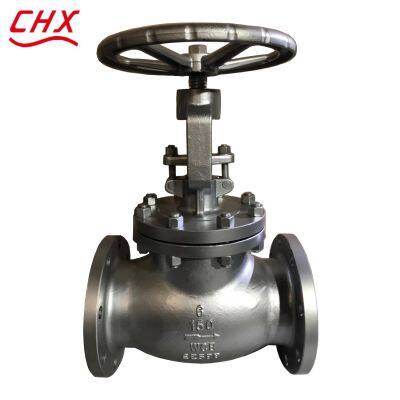
Install the valve in a position that is easy to operate (the handwheel should be about 1.2 meters above the ground), and ensure that the valve stem does not point downward. On horizontal pipes, the valve stem should point upward or be at an angle.
4. **Sealing:**
Apply silicone sealant or putty at the joints to ensure a tight seal.
**Post-Installation Inspection:**
- **Leak Detection:** Slowly introduce water and check all joints for leaks. Make any necessary adjustments promptly.
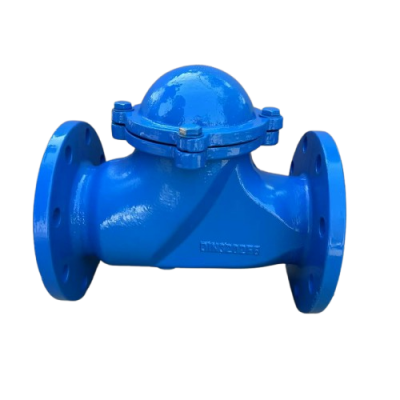
- **Function Verification:** Manually open and close the valve to ensure smooth operation without any obstruction. For check valves, test their ability to close automatically.
- **Clean-Up:** Remove any excess sealing material and ensure that there is no debris around the valve.
Recently Posted
-
How to use a lift-type valve
December 19, 2025The method of using a lift-type valve varies depending on the specific application scenario and type. Preparations before use: Che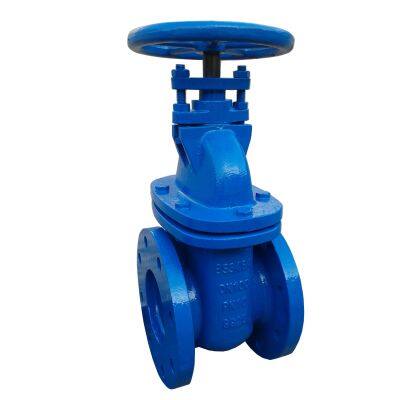 Read More
 -
Principle of lift-type valves
December 19, 2025The lift-type valve is an automatic valve that relies on the flow of the medium to automatically open and close the valve disc, th Read More
 -
Sewer valve check valve
December 19, 2025Sewer check valves can effectively prevent the backflow of sewage, the spread of unpleasant odors, and the invasion of mosquitoes, Read More
 -
Installation height of fire pump valves
December 18, 2025The installation height of valves in fire pump rooms must comply with the national standard GB50974-2014. The specific requirement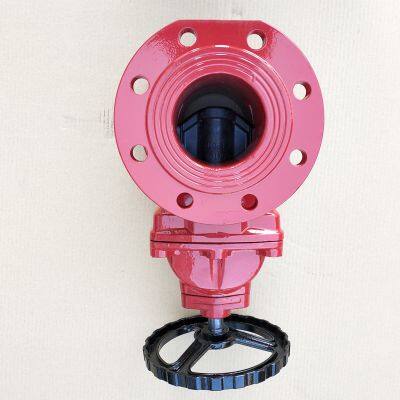 Read More

Contact Us
Recommended Products
-
 DIN F4 Flange Gate Valve Cast Iron Body DN50-600 Material GGG40 GG25 GGG50 Resilient Seat for Water Control ApplicationsNegotiableMOQ: 100 Pieces
 -
ANSI Rising Cast Steel WCB Flange High Pressure Gate ValveNegotiableMOQ: 100 Pieces
-
GOST Hard Seat Cast Iron Gate Valve, DN50-400 Size, PN10/PN16 Pressure, for Water Control ApplicationsNegotiableMOQ: 100 Pieces
-
DIN3352 Compliant F4 Flange Pump Gate Valve PN10/PN16 Cast Iron Body for High Sealing PerformanceNegotiableMOQ: 100 Pieces
-
ANSI DN150 150LB Cast Iron Cast Steel WCB Strainer Flange Y-Type Strainer Stainless Steel Central Heating FilterNegotiableMOQ: 100 Pieces
-
Wide Size Range ANSI Flanged Foot Valve, Ductile Iron, API 598 Tested, for High Sealing PerformanceNegotiableMOQ: 1 Piece
-
Float Valve DN100 PN25 High-Pressure Ball Type Non Return Valve Valvula Check Tipo WaferNegotiableMOQ: 100 Pieces
-
API 598 Certified Cast Steel Globe Valve for Oil/Gas Pipelines, Size 1/2" to 12" 300LB RatingNegotiableMOQ: 1 Piece
-
Industrial Globe Valve Shutoff Valves for ASME B16.5 Flanges Pressure Rated 150LB-300LBNegotiableMOQ: 1 Piece
-
API 6D Certified Globe Valve With ASTM A216 WCB Body and Corrosion-Resistant Stem OptionsNegotiableMOQ: 1 Piece
-
Reliable DIN Cast Iron Globe Valve With Brass Seat, PN16 Pressure Rating, DN50-250NegotiableMOQ: 1 Piece
-
DIN Standard Compliant Globe Valve for Flange Systems, Size Range DN50 to DN250NegotiableMOQ: 1 Piece
-
Durable Cast Iron ANSI Grooved Butterfly Valve, Manual/Worm/Electric Operation, NBR/EPDM Seat OptionsNegotiableMOQ: 1 Piece
-
ANSI Grooved End Butterfly Valve, AWWA C606 Flange Standard, Ideal for Water Treatment ApplicationsNegotiableMOQ: 1 Piece
-
Manual Grooved End Cast Iron Butterfly Valve for Water Fire FightingNegotiableMOQ: 1 Piece

-
AWWA Butterfly Valve Grooved End Butterfly Valve for Industrial Use ANSI Full Lift Safety FlangNegotiableMOQ: 1 Piece
-
Multi-Drive BS 5155 Flange Butterfly Valve for General Industry Applications, DN50 to DN800 RangeNegotiableMOQ: 1 Piece
-
BS 5155 Butterfly Valve Meeting BS4504/EN1092-2 and API 598 StandardsNegotiableMOQ: 1 Piece
-
ANSI B16.1 Compatible Strainer Featuring Ductile Iron Body and Cast Iron Bonnet, Size 1/2"-24"NegotiableMOQ: 1 Piece
-
Industrial-Grade Cast Iron Strainer With SS304 Screen for Pipeline Filtration SystemsNegotiableMOQ: 1 Piece